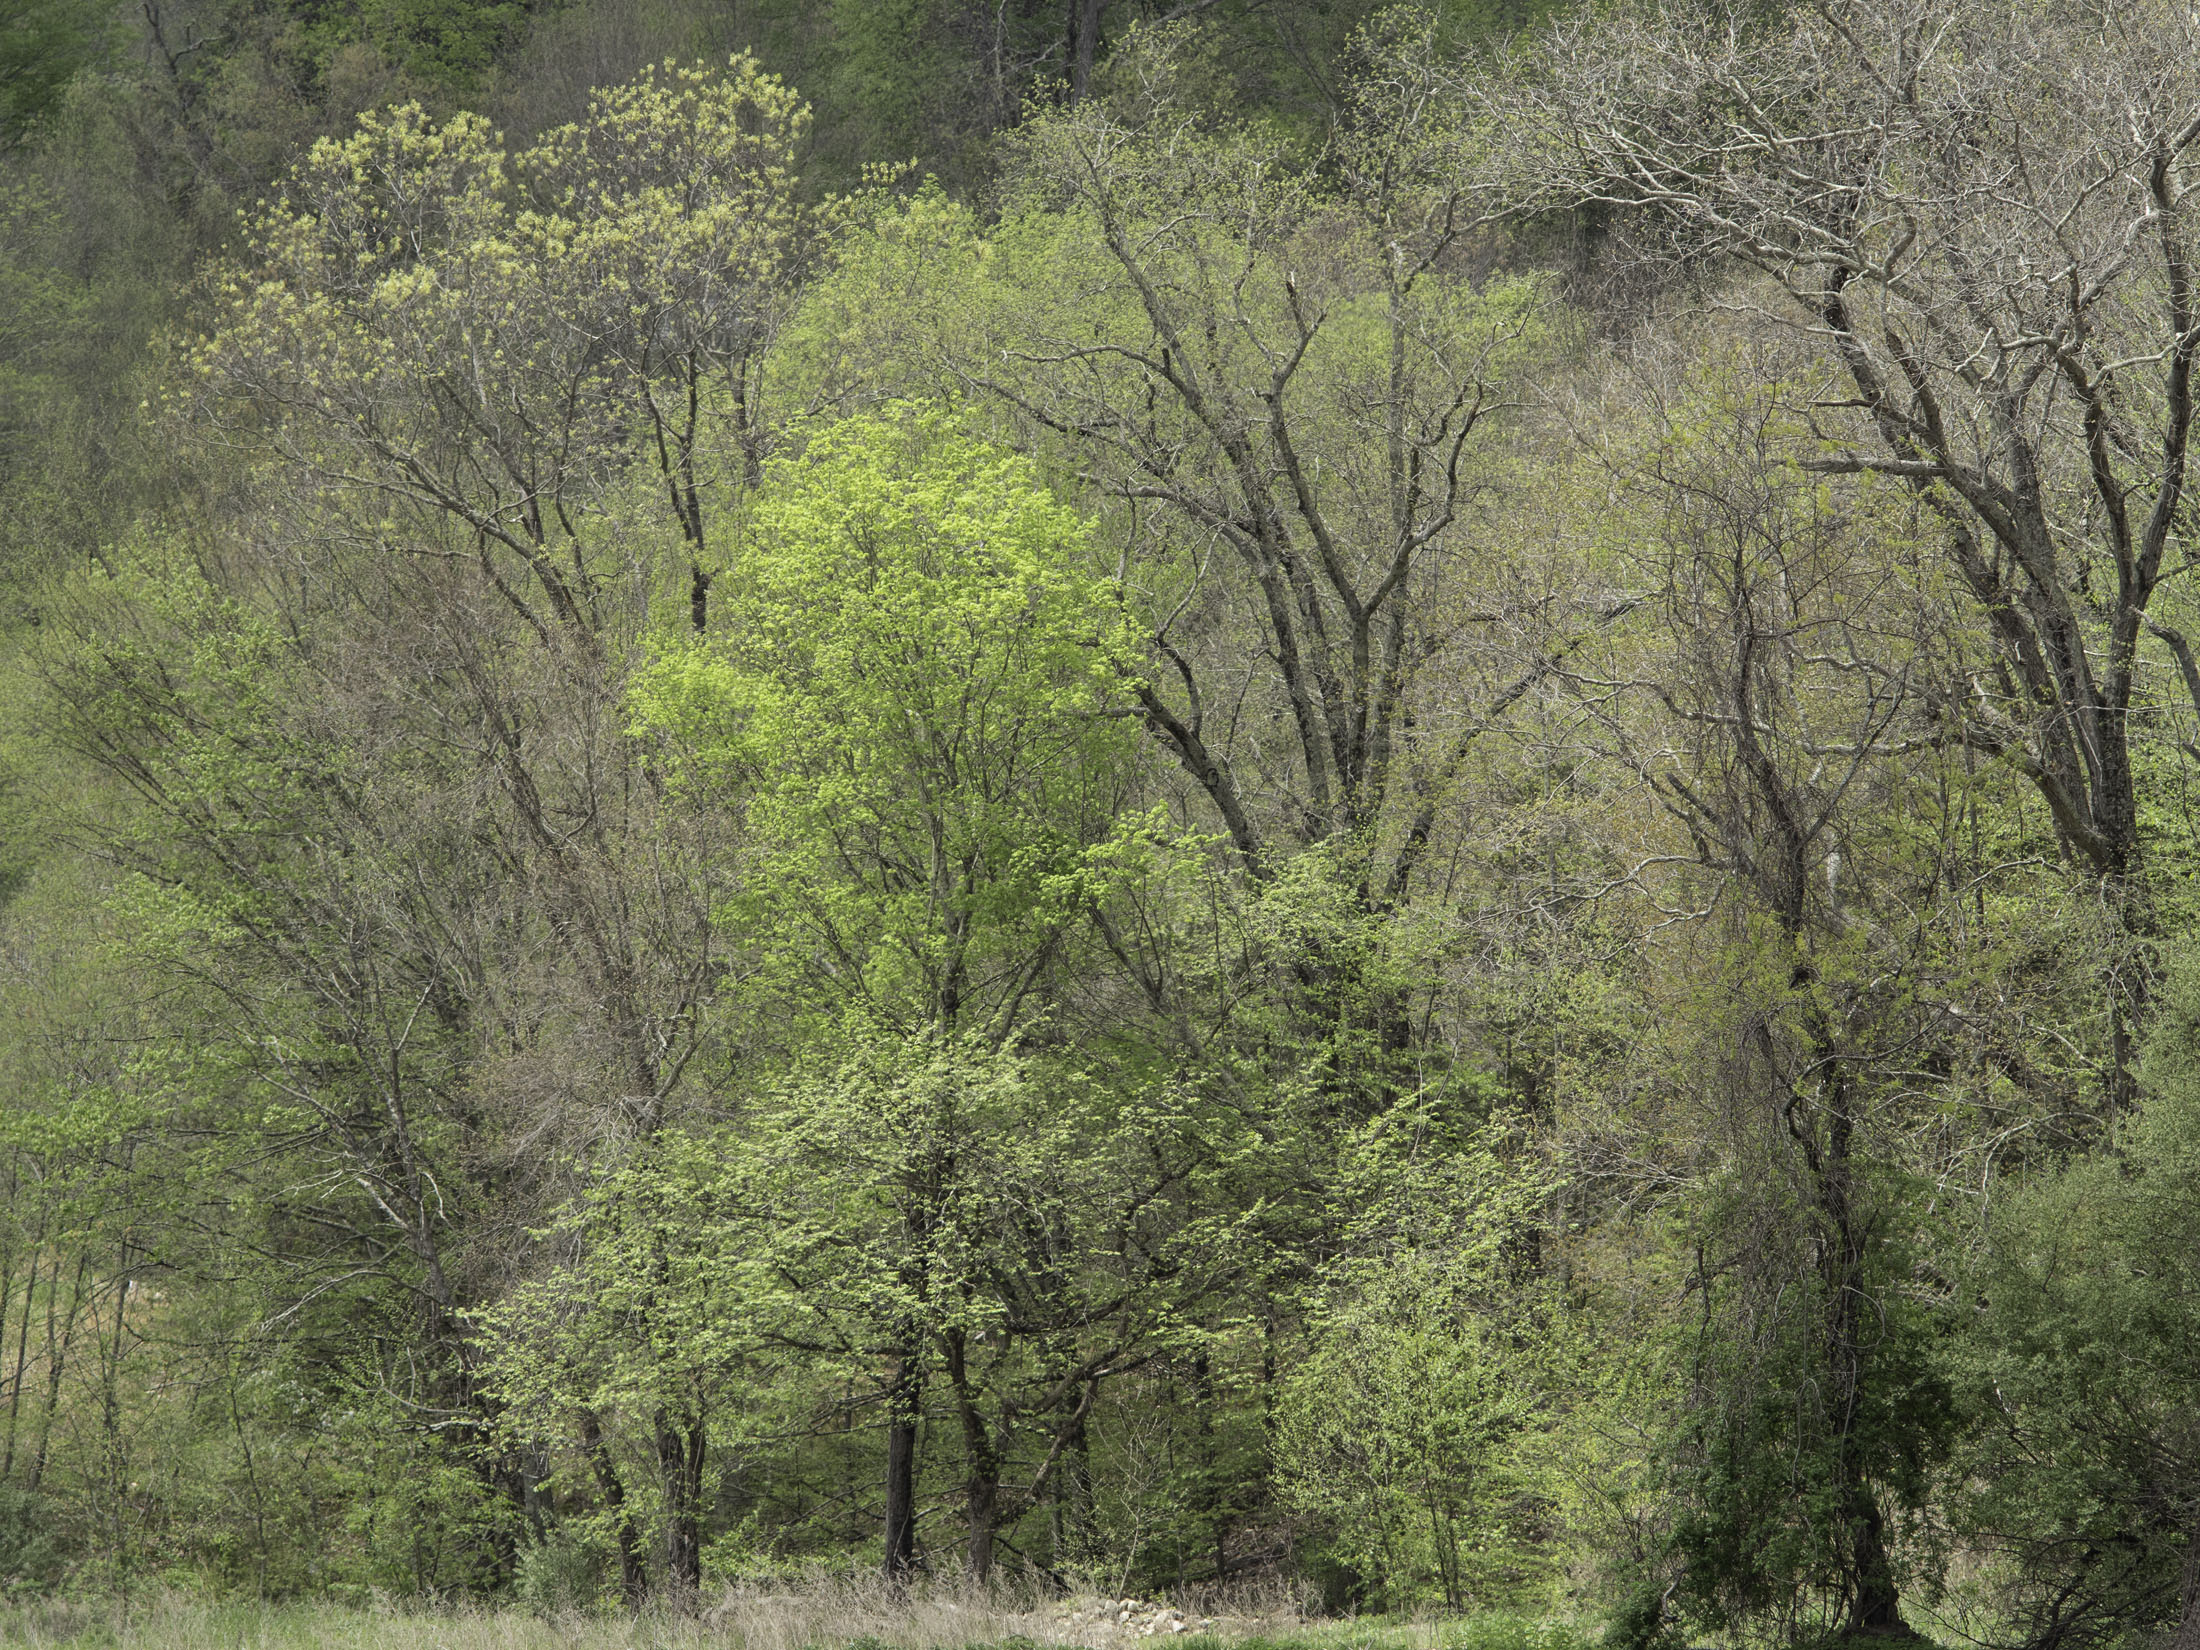
Yesterday afternoon I scanned nine pictures made in 2004 and 2005, some of my, "Southern Mountains" series, shot along the Blue Ridge Parkway and in West Virginia. It turned out I had never done high res scans from the negatives; the gallery on my web site was scanned from prints. They're 7x17-inch negatives, made with my Korona Panoramic View. In the past I used a troublesome Microtek tabloid scanner which got (almost) the whole negative in one pass, but needed lots of care and feeding to handle the range of a black and white negative. It also broke down, was badly "repaired," and then got orphaned for driver support. Almost typical of digital equipment, buy it, use it as much as you can, because within five years it won't work any longer, for one reason or another.
So I'm scanning the negatives with an Epson V750 Pro, which has a transparency scan area of just 8x10 inches. However, whether by sheer accident or plan, the scanner lid doesn't "bite" a negative that's longer than the bed. So you can safely scan the negative in two passes. Which is really tedious.
But it works quite well. It's the first scanner I've had, and I've been using them for 25 years, that has software that can understand a black and white negative. Previous scanners have all thought black and white film was just color negative film without color, which is totally wrong. Color negatives are soft mushy dye clouds with a heavy orange mask, all of which was perfect to work in projection printing onto color print paper. But it drove early scanners crazy. At the same time, when flatbed and slide scanners got to be reasonably useful, they did color slides pretty well, color negatives OK if there was a preset for the specific film type, but couldn't do black and white negs worth a damn. I always figured it was because the designers had no idea what a black and white negative is. It's silver deposited in gelatin, and has a density range much more like a color transparency than a dye cloud negative. So you had to tell the scanning software that you were scanning a transparency. Use the preview/prescan tools to make it look like a
good negative. After acquisition, you inverted the file in Photoshop to make it a positive. Scanners that made horrible scans when set to "black and white negative" delivered perfectly usable scans, if you lied to them. The V750 can be set correctly and take in the full range of black and white negative with room to spare at both ends of the histogram.
Another point is that scanner previews are never accurate. If you work hard to make the preview perfect, you will usually get a bad scan with clipped shadows and highlights. This is still true with the V750. I set the prescan controls so there is plenty of headroom and footroom. Nothing below Level 20 and nothing above Level 235. This delivers a file that is delightfully like what David Vestal said about Walker Evans's prints—"Pale, but all there." Since the acquired data is in 16-bit grayscale, there's lots of room to use a Curves Adjustment Layer in Photoshop to bring the tone up to a good dynamic range.
I place the film on the scanner glass emulsion side down, the wrong way, because the emulsion side is much less likely to suffer Newton Rings than the shiny back side of the film in contact with the glass. Little tabs of tape, six of them, pull the neg tight which helps scan quality and also reduces risk of Sir Isaac interfering. This is a drag, but I keep reminding myself how much less trouble it is than wet mounting on a drum scanner.
Along with having to scan each picture twice, the pieces have to be oriented and assembled. Each scan gets rotated 90° clockwise or counter, then rotated Flip Horizontal, then saved. Then I select the pair in Bridge and call up Photoshop and Photomerge. It's important then to select the last option, Position Only. Otherwise PS will imagine all sorts of stuff that it thinks should be perspective corrected, with disastrous, and sometimes hilarious, results.
Here's the assembled scan in a screen capture from Photoshop, edges cropped away, and given its initial tonal adjustment using a Curves Layer. "Dawn, Bean's Farm, Birch River, West Virginia, 2005."
UPDATE: Just a note to say that comments have somehow been getting routed to an "awaiting moderation" folder at Blogger instead of showing up in my email, so several have just been posted and I'm not sure how long they've been sitting around.